Ninja Slushi Ice Cream Slush Recipe
Make a creamy Ninja Slushi Ice cream Slush Recipe at home with simple steps, easy tips, and a smooth frozen texture made for the Ninja SLUSHi.
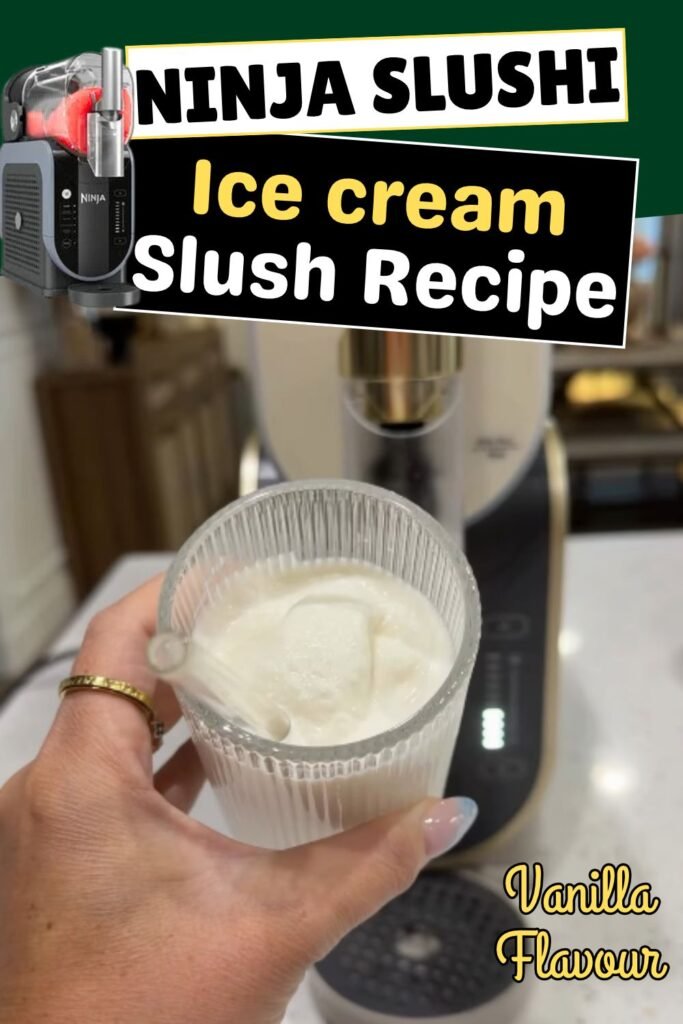
Vanilla has a simple taste, but a creamy frozen treat can make it feel special. The first thing I pay attention to with an ice cream slush is its texture.
It should be cold and smooth, with enough vanilla flavor to come through in every sip. This Ninja Slushi Ice cream Slush Recipe brings that classic creamy taste into a frozen drink you can make at home.
With a few simple ingredients and the right machine setting, you can enjoy a refreshing vanilla treat.
Can You Make Ice Cream in the Ninja Slushi Machine?
The Ninja SLUSHi can make a creamy, ice cream-style frozen drink, but you should not put scoops of solid ice cream into the machine.
The maker is designed to freeze liquid mixtures, so I use milk, cream, and sweetened condensed milk to create a rich base.
The Milkshake preset is the right place to start. Always follow your model’s manual and keep the mixture within its fill limits.
Ninja Slushi Ice Cream Slush vs. Traditional Ice Cream
Traditional ice cream is made to be scooped, while an ice cream slush is made to pour into a glass. The milk and cream give this frozen drink a rich taste, and the sweetened condensed milk adds sweetness and body.
You will not get the same firm texture as a tub of ice cream. Instead, the aim is a cold, smooth drink with a soft, creamy feel that is easy to serve.
Ingredients Needed for Ice Cream Slush
The ingredient list is short, but each item has a job to do. I would keep the amounts close to the recipe at first, since the balance of milk, cream, and sweetened condensed milk helps create a smooth frozen drink.
Ingredients
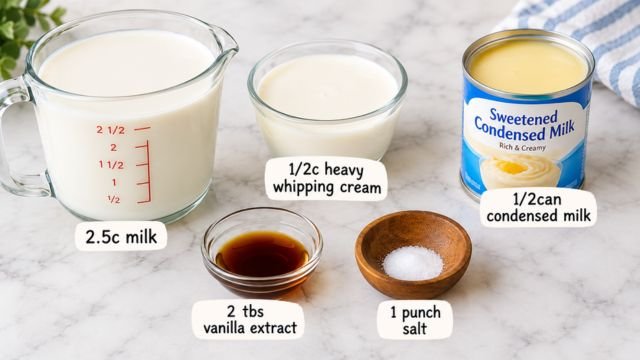
- Whole Milk (2 1/2 cups): Forms the smooth, drinkable base of the slush. A cold carton works best, and the fat level shapes how creamy each cup feels. Whole gives the thickest, most satisfying result.
- Heavy Whipping Cream (1/2 cup): Adds the richness you expect from real ice cream. The extra fat keeps the ice crystals tiny, which means a silky texture instead of a gritty one.
- Sweetened Condensed Milk (1/2 can, about 7 ounces): Brings sweetness and body in one pour. It is thick and sticky, so it also helps the slush hold together as it freezes. Pre-frozen mixtures taste a little sweeter, but the final slush tastes softer and milder than the liquid does.
- Vanilla Extract (2 tablespoons): Gives the slush its warm, classic flavor. Two tablespoons sounds like a lot, but cold temperatures mute flavor, so a bold amount keeps the vanilla taste clear. Pure extract tastes noticeably better than imitation.
- Salt (1 pinch): Rounds out the sweetness and makes the vanilla taste fuller. You will not taste it on its own. You will just notice that everything else tastes better.
Substitutions and Swap Ideas
- Milk: Use 2% milk if that is what you have. The slush will be a little thinner. Oat milk works for a dairy-free route, though the result is less creamy.
- Heavy whipping cream: Half-and-half works in a pinch, but expect a lighter texture. Full-fat coconut cream makes a rich dairy-free option with a mild coconut flavor.
How to Make Ninja Slushi Ice Cream Slush at Home
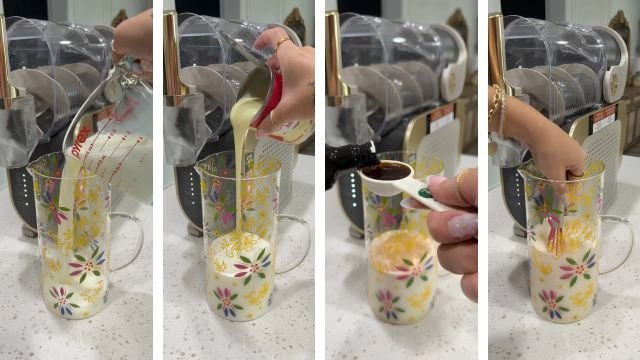
1. Mix All the Ingredients: I start by adding 2½ cups of milk, ½ cup of heavy whipping cream, ½ can of sweetened condensed milk, 2 tablespoons of vanilla extract, and a pinch of salt to a large pitcher.
Use a whisk to mix everything well. Make sure the condensed milk blends fully into the dairy, leaving you with a smooth vanilla mixture.
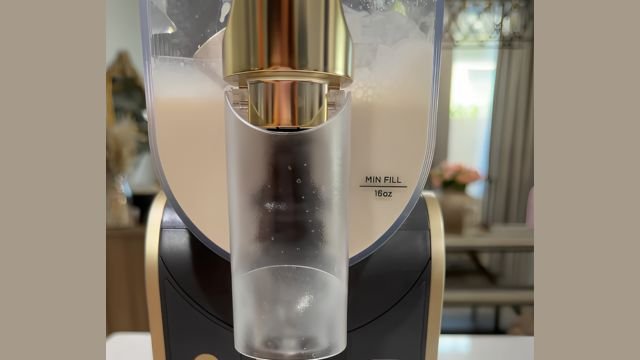
2. Fill the Ninja Slushi and Select the Setting: Once the mixture is smooth, set up your Ninja Slushi according to the manufacturer’s instructions. Pour the mixture into the vessel, keeping the total amount within the 16-ounce minimum and 64-ounce maximum.
Remember, we should never add ice cubes or solid ice cream directly to the machine. Close the lid, turn it on, and select the MILKSHAKE preset for this creamy dairy-based drink.
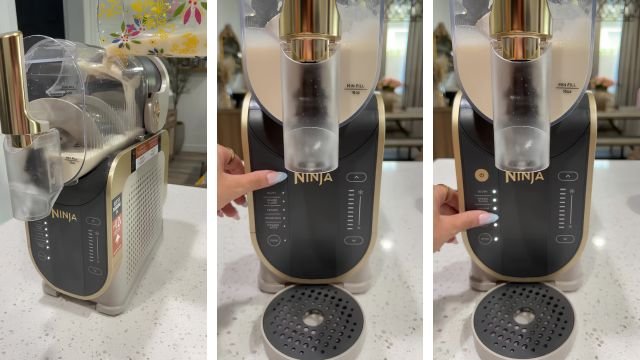
3. Freeze the Mixture: Now let the machine do its work! The freezing process may take about 15–60 minutes, depending on the amount of liquid and its starting temperature.
Watch the temperature lights as the mixture freezes. When the machine beeps and the lights stay solid, check the texture. You want a thick, cold slush that still flows easily from the dispenser.
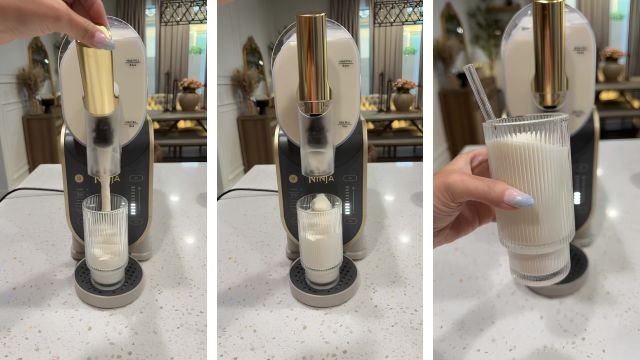
4. Dispense and Serve Your Ice Cream Slush: Place your favorite glass under the dispenser and slowly pull the handle to pour the vanilla slush. Release the handle when your glass is full.
I recommend serving it right away while the texture is cold and creamy. If the mixture still looks too thin, give the machine more time before pouring your next glass. Enjoy your homemade vanilla treat!
My Expert Tips for the Creamiest Ice Cream Slush
Small changes can make a difference in a dairy-based frozen drink. These are the main points I would keep in mind while preparing the mixture.
- Start with cold dairy: Cold ingredients may help reduce the time needed to freeze the mixture.
- Use the Milkshake preset: It is intended for creamy, dairy-based drinks.
- Measure the vanilla: Two tablespoons gives a clear vanilla flavor, so measure rather than pouring by eye.
- Keep within the fill lines: Never go below the required minimum or above the maximum capacity.
- Skip the ice cubes: The machine is designed to freeze the liquid mixture without added ice.
- Give the machine time: Freezing may take 15–60 minutes, depending on the mixture and starting temperature.
- Serve soon after dispensing: The texture is usually easiest to enjoy while the drink is cold and freshly dispensed.
What to Serve With Ice Cream Slush
A creamy vanilla slush is sweet enough to enjoy on its own, but a small snack can make it feel more like a complete treat. I would keep the sides simple so the vanilla flavor stays easy to notice.
1. Chocolate chip cookies: Their crisp edges and soft centers pair well with a cold, creamy drink.
2. Vanilla wafers: These have a light crunch and a mild taste that does not compete with the vanilla.
3. Brownies: A small piece of chocolate brownie gives you a richer contrast to the cold drink.
4. Fresh strawberries: Sliced strawberries add a fresh fruit taste and a little natural tartness.
5. Waffle pieces: Small pieces of a plain waffle work well when you want something simple alongside your drink.
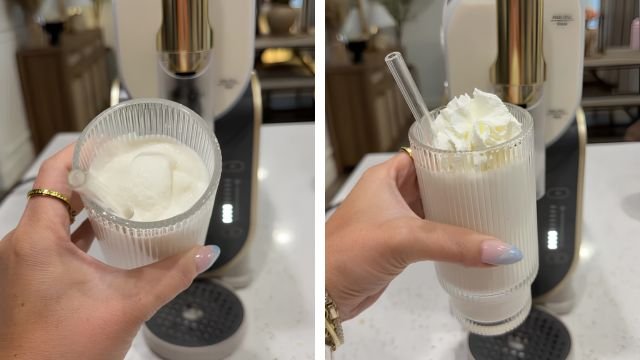
6. A little whipped cream: A small spoonful on top adds extra creaminess, although it is not needed for the recipe itself.
How Long Does Ice Cream Slush Last?
I prefer serving this slush soon after it reaches the right texture because it is smooth, cold, and creamy. Since it contains milk and cream, I do not leave leftovers sitting at room temperature.
Any melted slush should be covered and placed in the refrigerator right away. For the best quality, use refrigerated leftovers within 1–2 days.
Keep in mind that stored slush will not have the same soft, frozen texture as it did when freshly made.
Ninja Slushi Ice Cream Slush Recipe FAQs
The machine’s instructions matter just as much as the ingredients. These common questions cover a few details that can help you decide how to handle the recipe.
1. Can I make this without a Ninja Slushi?
Yes, but the texture will be different. You can blend the liquid base with ice in a strong blender, but it will melt faster and may become watery.
Another option is to pour the mixture into a shallow pan, freeze it, and stir it every 30 minutes for about 2 to 3 hours.
2. Can I add flavors like chocolate or strawberry?
Yes, as long as what you add is smooth and liquid. Chocolate syrup or a strawberry puree that you blend until it has no chunks both work well.
Stir the flavor into the base before pouring it in through the easy-fill port. Keep the total amount between 16 and 64 ounces, and skip ice, whole fruit, candy pieces, or anything solid, since those can clog the auger.
3. Why is my slush too thin?
Most of the time, the base was not cold enough when it went in, or it needs a little more time. Wait for the lights to turn solid and for the beep.
If it still pours like a drink, try setting the temperature one notch colder and wait again. Using whole milk and real cream also helps the slush thicken.
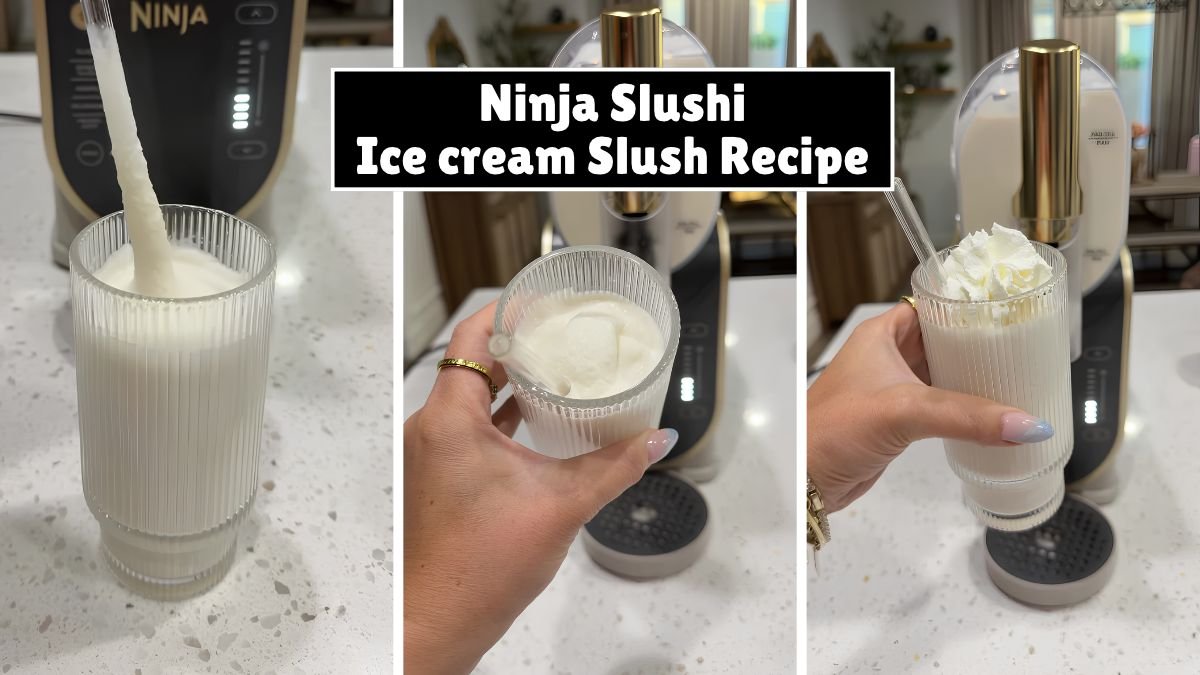
Ninja Slushi Ice Cream Slush Recipe
Ingredients
Method
- Mix the Ingredients: Add the milk, heavy whipping cream, sweetened condensed milk, vanilla extract, and salt to a large pitcher. Whisk until the condensed milk is fully blended and the mixture is smooth.
- Fill the Ninja SLUSHi: Pour the mixture into the Ninja SLUSHi, keeping the amount between the 16-ounce minimum and 64-ounce maximum. Close the lid and select the MILKSHAKE preset. Do not add ice cubes or solid ice cream.
- Freeze the Slush: Let the Ninja SLUSHi run for about 15–60 minutes, depending on the amount and starting temperature. When the machine beeps and the temperature lights stay solid, check that the slush is thick, cold, and creamy.
- Dispense and Serve: Place a glass under the dispenser and slowly pull the handle to pour. Serve the ice cream slush right away. Let it run longer when the mixture is still too thin.